The 3 Simple Steps to Fabricating Your Ideas
Step 1 – Choose your platform
Like building a house, a good website needs a solid foundation, there are a few to choose from, so let’s pick which is best for you.
Get Started
Step 2 – Your domain & hosting
We need to pick & secure your perfect domain and find somewhere to host your new website.
Get a domain
Step 3 – Set up & making it your own
We have a solid foundation, so let’s start building the blocks that will shape ideas into a reality.
Customise your website
Step 1 of How to setup a website UK: Let’s choose your foundations
Spoiler: It’s definitely going to be WordPress! Like building a house, a good website needs a solid foundation, there are a few to choose from, so let’s pick which is best for you.
What options do you have?
Over the years, there’s been a number of innovative solutions that have been developed that makes making a website much easier and accessible to all.
It used to be the case that websites where built with static HTML (the code that forms the blocks and text), CSS (the code that styles everything and adds colours and sizes) and as years went on: Javascript (code that adds additional functionality such something happening when you click on an item).
Nowadays, we have tools that have been developed specifically to open website development to a much wider market and have taken the entry requirements right down to basic levels, these are called content management systems (CMS).
There are a few large-scale CMS’ that exist and you have probably already heard of them. The main content management systems are:
WordPress
If you are wondering how to setup a website UK, WordPress is the easiest & most popular way to create your own website or blog, using fully open-source software. As it stands, WordPress powers over 43.3% of all the websites on the Internet.
Drupal
Drupal is the next most popular way to create your own website or blog. Drupal is an open-source community driven program that offers huge flexibility but has a much steeper learning curve than WordPress.
Wix
Wix is a super intuitive and easy to use cloud based solution thats offers the ability to get a website live in minutes. Whilst easy, it often lack the flexibility & customisation users require and website can be slow and bulky.
Squarespace
Similarly to Wix, Squarespace is a quick solution to a problem and offers users an easy to get a site live for their customers.
Why do I love WordPress?
WordPress has come such a long way since it was created in 2003, it started out as a rickety old system that no one really knew how to use, but over the last 20 years or so it’s matured into a near perfect system.
And so if you are wondering how to setup a website UK, there are a number of reasons why we will choose WordPress and why we would recommend you to pick it up over other website builder companies that exist.
It’s FREE!
WordPress is completely free! That’s what makes it the ideal starting point for a website, there’s very little entry requirements and no upfront cost to get started. It’s completely open-source meaning there’s no subscriptions, no account creation and no free trials. You simply download it, install it and away you go!


There’s a wealth of free addons!
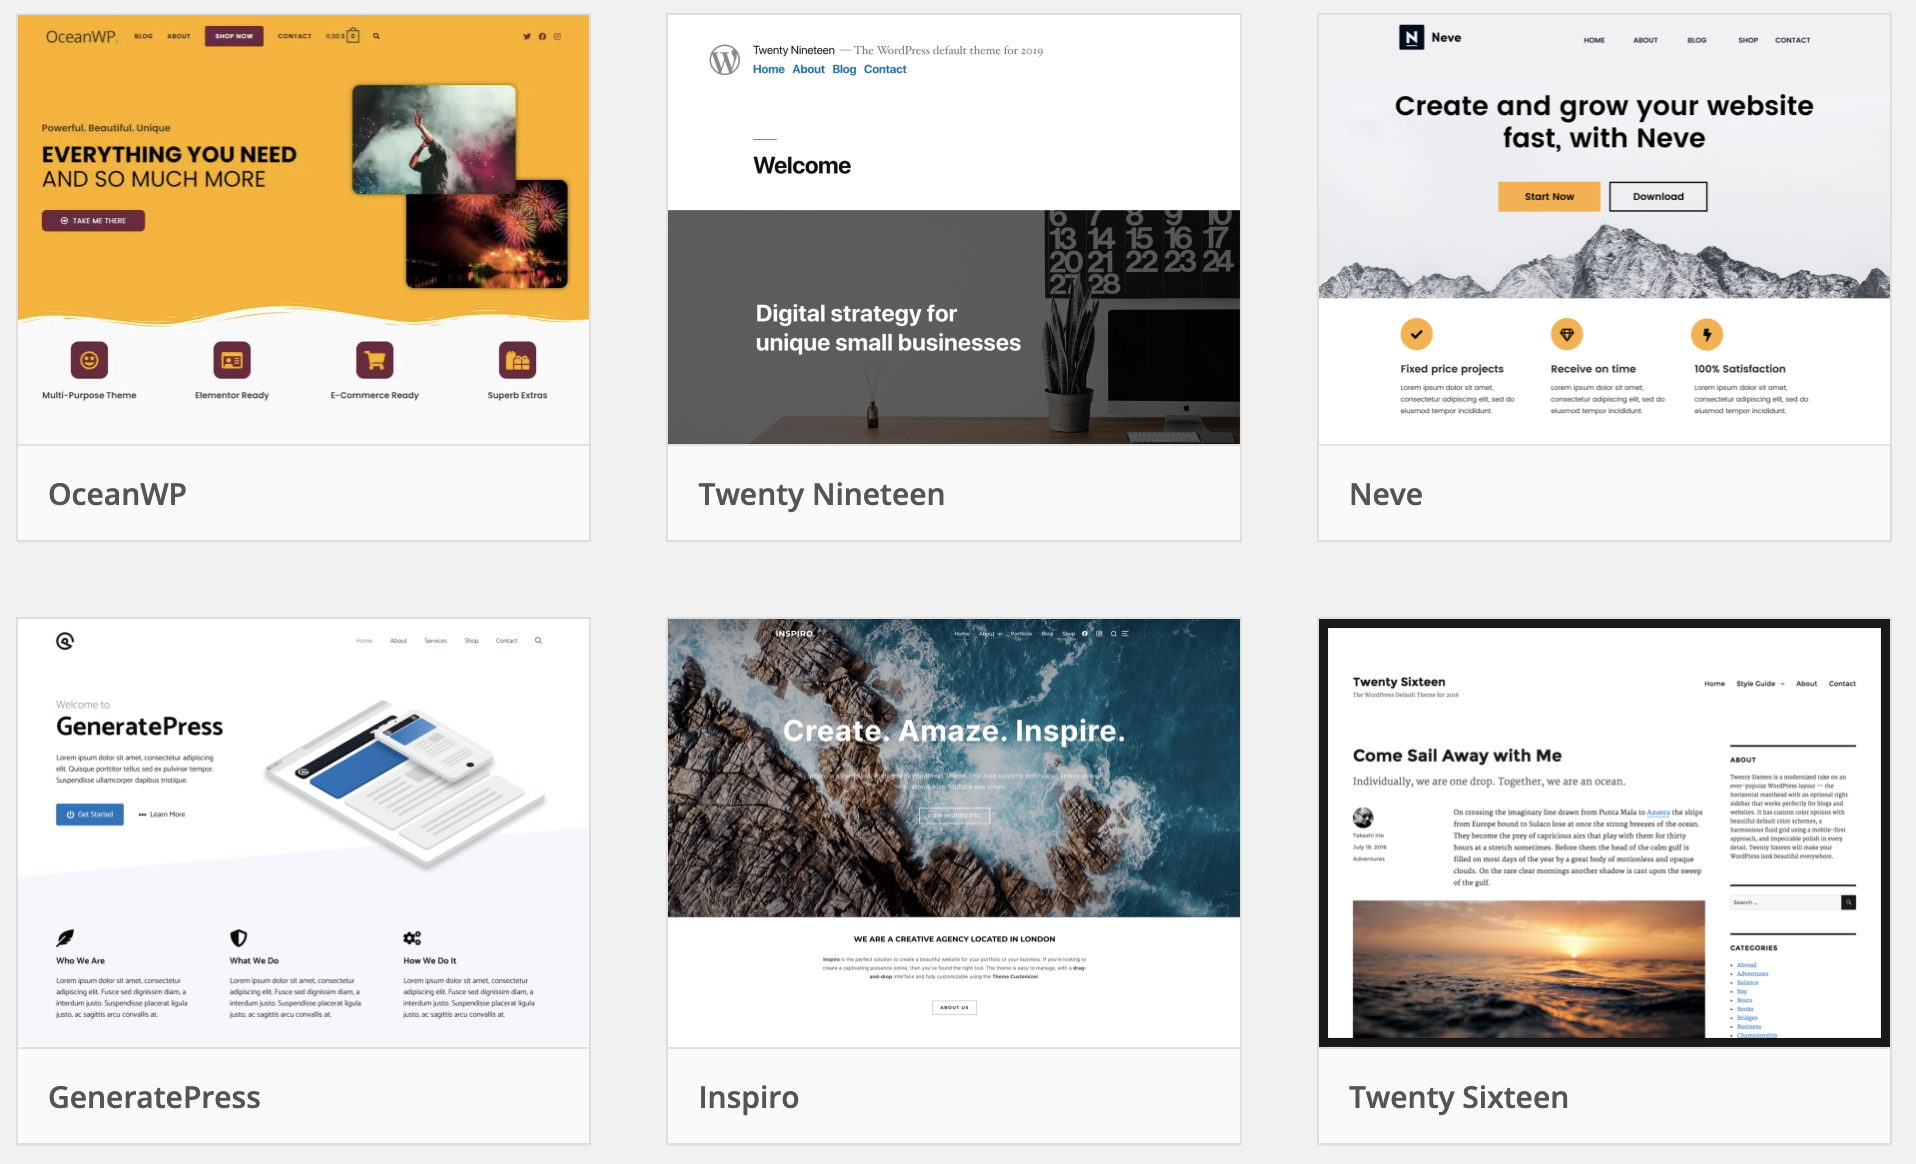
When using WordPress, there’s also thousands of free plugins (these add extra functionality and there is a plugin for just about anything from share buttons to newsletter software and full e-commerce software). There’s also a huge free selection of user created themes that you can use on your site to get started straight away!
There’s a guide for just about anything
As I mentioned before, WordPress is used by nearly half of all websites across the internet. With so many using the platform almost every question you can think of and almost everything you want your website to do has been done, and all the answers have been shared! This is great for beginners wondering how to setup a website UK and they aren’t sure where to start.


SEO (What’s that?) Friendliness!
WordPress is super SEO friendly right out of the box, and theres some great plugins to make it more so! SEO is what helps your site get noticed by others and the more friendly it is, the higher it will rank on Google & other search engines!
Security
Security is always a risk when you create a website and as a company you may be liable. WordPress is super secure and comes with essential security right from the get go. WordPress has already handled users logging in and theres great ways to extend this to a secure e-commerce platform.

Step 2: How to setup a website UK? You are going to need a domain! How to Buy your perfect name & finding someone to host your WordPress Website
We now know what foundation we are going use for our new website, now we need to give it a name and find somewhere to host it.
To give it a name, we need to purchase a domain name, this is the url that you and your users type in to find the website, for example www.setupawebsite.co.uk. Remember what you are trying to solve for example we are helping people to answer ‘How to setup a website UK’ and so our domain was a perfect fit! Find your perfect domain at IONOS.

Ideally, this should be something short, memorable & one to three words long. This helps to make sure that it’s easy for people to remember and they can easily find it if they hear about the website through word of mouth or advertising.
We also need a company to store the website for us and make it accessible to others online, this is called ‘hosting’ and having a speedy hosting set up is essential for getting users to the site and converting users.
Whilst using WordPress and its plugins/themes is completely free; having somewhere to host it and a domain name does with a monthly/yearly cost, however you pick both of these up from as little as £5/month, where as a digital agency could charge you that for answering an email!
Where do I get my domain and hosting?
Throughout my personal development career, I have tended to use Krystal for my hosting and domain names. Krystal are a UK based, highly rated company that offer a number of hosting packages that range from being cost effective to enterprise level hosting.
When purchasing hosting from Krystal, they also give you the option to purchase a domain as you are setting up your web hosting package. This keeps everyone under one roof as it where, and keeps it simple.

If you prefer a larger more well known hosting provider you can use IONOS, which offer great deals with fantastic customer support. Find out more about their services here.
It also reduces the amount of setup required by yourself as it will all be done automatically through the set up process, and means you don’t need to worry about DNS records.
Ofcourse, if you already own a domain and are wanting to transfer it over they support this and provide plenty of information and guides on how to do that, you can also view our guide once it’s finished.
Which hosting package do I need? WordPress Specific?
Krystal offer a number of hosting packages that vary for the users needs, I will quickly try and describe what each of them and why you might need them.
Web hosting
Web hosting is the most basic package that is offered. This tends to be for individual bloggers or very basic brochure style websites that aren’t going to be coming under a great deal of traffic.
WordPress hosting
This is hosting that is tailored specifically to WordPress sites. This means they can offer one-click installations of WordPress with hosting that is specifically optimised for WordPress and its functionality. I would recommend using the ‘Onyx’ WordPress hosting package as this will cover the majority of your needs.
Cloud hosting
This is very fast hosting that is created to allow users to create a cloud based solution. This is more for advanced users that want more flexibility with their hosting package, and for large companies with a lot of traffic.
Enterprise hosting
Again, this is for larger companies with tens of thousands of daily hits on the website and are looking to buy fast & a more customised hosting package. For smaller businesses, the Onyx WordPress Hosting Package should be more than enough.
I would recommend you purchase the Onyx WordPress plan, this will cost you around £20 per month and should future proof your website until you are hitting upwards of 20,000 users per month.
Alternatively for brand new websites, I would recommend you look at purchasing the Ruby/Sapphire Web Hosting plan. This offers a good quality hosting package with a reduced cost for lower risk for companies that are maybe starting up, this starts from £10 a month.
If you are looking at how to setup a website UK, then it’s fair to assume you might not be super confident with making website so this low cost – low risk option is ideal.

What domain name shall I pick?
Your domain name is very important and it should reflect what your site is going to be about. Don’t try to over complicate things by adding extra words, hyphens and numbers, remember someone has got to remember this to directly find you online!
Depending on the type of website you are wanting to create should effect what you call your website. For example if your company name is Wood’s Plumbing, then trying to find a site called woodsplumbing.com would be ideal. It’s short, snappy and easy to remember and if you are speaking to clients there’s no confusion on what’s punctuation and what could be numbers.
Alternatively, if you are setting up a personal blog or a personal shop then something containing your name would work perfectly well.
.com/.co.uk/.shop?
It used to be the case that every website was website.com or website.co.uk and that was the way it was. Nowadays, theres a domain extension for just about anything and there’s no real penalty for using them! There are many shops that have .shop at the end of their domains and theres many more extensions that can be used such as .app, .agency & .net!
It’s worth noting that a number of domain extensions are restricted and cannot be purchased such as charities (.org.uk), government sites (.gov), educational (.ac.uk) and a number of others so do your research on what works best for you.
If you were making a website that is UK based and your user base would be searching ‘How to setup a website UK’, then a .UK domain might better for you to ensure users know your website is UK based.
Whilst there is not penalty for using these, bare in mind that again, people need to be able to find your website. Because of how websites used to be it’s possible that people will always default back to putting .com or .co.uk so if a website with this domain already exists then customers may accidentally find that instead. So if you can get .com or .co.uk, then I would recommend you do so!
Domain Tips
As a general rule of thumb, you know your target market the best, so go with whatever you think sounds catchy and you like it. It should also describe your line or work and the sites purpose in a couple of words.
If you are struggling to think of a name there are a couple of websites that can help you!
Step 3: Getting started with your WordPress Website & making it your own
Once you have purchased your hosting and domain in step 2, you will now be logged in Krystal with something like this. We need to access our newly purchased hosting server, to do this click on ‘My Services‘ and then on your product click on ‘Launch cPanel‘.

Your cPanel is the control hub for your website, here you can access anything associated with your hosting setup including emails, files, backups etc. It can look quite overwhelming but theres only a couple of things we need to worry about!
How to setup a website UK – Installing an SSL Certificate
The first thing we are going to is to make your new website secure and support encryption. This will turn the small unlocked padlock in the address bar to a nice secure one, meaning everything your users are doing is encrypted and safe.

We will use LetsEncrypt SSL software for this, this is completely free and really easy to sort out within Krystal as its all integrated.
Scroll down your cPanel until you see the ‘Security‘ panel, then click on the ‘Lets Encrypt SSL‘ button.

Scroll down until you see your website link under the ‘Issue a new certificate’ title and click the little ‘+ issue‘ button. You will be presented with a screen with a list of variations of your domain. I would recommend to make sure they are all checked under the ‘Include?‘ heading. Then press ‘Issue‘ at the bottom.

Once the website is set up you should see the secure padlock in your domain now, you may need to physically type in https://www.example.com instead of http://www.example.com if it doesn’t do it automatically. Your users will not need to do this.
How to install WordPress
There’s two ways we can install WordPress, one is really simple and our hosting provider will handle the majority of it and the other is for more advanced users. Let’s let our hosting provider do most of the work for us!

Head back to your cPanel homepage (the confusing, overfilled page). Scroll down until you see the ‘Software‘ section, and click on ‘WordPress Manager by Softaculous‘.

You will be presented with a WordPress hub type page. From here we are going to click on the blue ‘Install‘ button at the top left of the inner page. The next page is quite log so let’s break it down.

Software Setup
Here is where we pick which site we are going to install WordPress on and what we want the url to be like. This is why we set up the SSL certificate in the previous step, so we can select HTTPS as our installation path. In Protocol select https://. For your Domain select your newly created domain and you can leave Directory blank.

Directory is used if you want to have the WordPress installation separate from your main site. For example you might already have a basic HTML site and only want to add WordPress for a blog, in that case you could add ‘Blog’ as your directory and your WordPress would be installed on https://example.co.uk/blog.
How to setup a website UK – Site Settings
We can set our site name and the site description here. I would tend to go for a pretty-printed version of your domain name, for example if my domain was woodsplumbing.com my site name would be ‘Wood’s Plumbing‘ and my site description would be ‘Wood’s Plumbing WordPress Site‘.
The site name and description are only really used as an extra detail and as a fall back for some pages, they can also be changed at any time so don’t worry too much about this!
You can ignore the other 2 check boxes on this step as they won’t be needed for our site.

Admin Account
This will be your admin account login details & email address. Make sure what you put here is memorable but also secure, simple user name and passwords can be hacked easily and cause all sorts of problems for your website and your customers.
I would recommend having a username that is tailored to you rather than your domain name and have atleast a 16 character password that contains uppercase, lowercase, symbols and numbers. A good example of a username would be PaulsWsPlumbersAdmin (Pauls Wood’s Plumbing Admin Account).
Your Admin Email should be something you have access to and is also secure as any changes to your website will need to be verified through that email.

Language & Plugins
Your language can be left as ‘English‘ and your plugins can be left as the default options that are already selected. More on plugins later on! Litespeed Cache should be left on as this is essentially a ‘save’ option for your website to make the experience quicker for your users!

Theme
For now, leave this as default and unchecked, we will revisit this later down the line! You can browse some of the themes here to get an idea of which you like and dislike and which might be a good fit for your website. By leaving it unchecked WordPress will install its default themes.

Once all that set up is completed, hit the ‘Install‘ button and let it work its magic! You should see an ‘Installation Complete’ message and there will be 2 links. The first link is your new site! The second is a link to your WordPress admin login area. You can use the username and password set previously to login here.
Great work! So far you have setup a domain, bought your first hosting setup, ensured your site is secure and encrypted and just installed WordPress!
How to setup a website UK & Customise your new site
Your site is probably going to look a little bit basic and if you are using the Twenty Twenty One default WordPress theme, very green! For this part I will be using the latest Twenty Twenty One WordPress theme, so if you don’t have enabled please see the ‘Changing your theme‘ section below.
Before all that, let’s go over some basics of what we can change & how we can customise our site.
How to log into WordPress
To do anything in your site you will need to head to your WordPress control centre, in this guide I may refer to this as the WordPress Back office, WordPress Back-end or WordPress admin. You can access this by going to your website’s homepage and adding /wp-admin to the end of the url, for example https://www.example.com/wp-admin.

Here you can use the logins you set when you first created the website. Once you are logged in you will see a relatively simple log in page that contains a black menu down the side.

Changing your theme on WordPress
Imagine a theme as the clothes you were everyday, the underlying basics are the same but you can pick and choose any outfit you want! WordPress themes are the same sort of concept, the parts you see as the admin will never change so they will stay familiar to you, but you can change your theme to almost anything!
If you are looking for how to setup a website UK, we would recommend that you do change the theme as much as you can as its quite common for people to use a base theme and your site will not stand out from the competition.
Head to your WordPress admin page and on the left hand menu select Appearance -> Themes. Here you will see the current activated theme and a couple of options that are included by WordPress, these are always named after the year they were added.
If you like the 3 themes on their feel free to use them, in this guide I will be using the 2021 theme, so feel free to stick along. If you want to change it there are a number of options available to you, both free or paid for.
WordPress has its own theme hub that offers thousands of themes, there are a number of free options available as well. To change your theme, hit the ‘Add new theme‘ button.

You will be taken to a store of types. Here you can search for themes you like, you can use the search bar at the top right to search for your business type to see if there any dedicated themes for that, for example here I searched for a theme for Wood’s Plumbing.

When you find a theme you like, you can hover on it and click ‘Details & Preview‘ and it will load a live preview of the theme on your site. If you like what you see, you can press the blue ‘Install‘ button at the top left of the page and it will download your new theme! Once done you will taken back to the Theme home page and you can press ‘Activate‘ on your new theme.
How to setup a website UK & add new content
Now you have your new website, you probably want to add some content to it to get your message across!

Head to your WordPress Admin Area and down the left hand menu you are going to select ‘Pages‘ (Make sense, right?). Here you will see a list of all the pages that currently exist on your website, be default there are usually two, Sample Page & Privacy Policy.
Here you can either create a new page by clicking on the ‘Add New‘ button at the top or you can edit an existing page by selecting one from the list, we are going to edit the Sample Page as it already contains some example content for us.

Click on the blue part of the ‘Sample Page‘ link, this will take you where you can edit that page. WordPress uses something called the Gutenberg Editor, which makes it super easy to edit pages as its essentially generates a ‘Microsoft Word-like’ document editor.
When you load this for the first time a mini tutorial will appear, I would recommend you look through that as it will explain the key parts of the page.

Now we have a simple looking page where we can add and edit content for our website home page! On this page whatever you type will simply be output onto the page, you can add images, headings and much more.
If you look at the top left of the page editor you will see a Blue plus icon. If you click that it will display a list of all of the different blocks you can add to your site. It’s worth noting that in the default WordPress themes, these will probably be all styled and working, but in themes you download (especially free ones) they might not have gotten round to adding all of the blocks.
You can type directly into the page which block you want by typing a forward slash (/) and searching for the name of the block you are looking for.

Once you have made your changes you preview them by using the ‘Preview‘ button in the top right, here you can view your site in desktop mode, tablet or mobile mode. You can also open the preview in a new tab. These changes are currently only visible to you, to make them public you need to press the big blue ‘Update‘ button in the top right.
You will see a small black box appear in the bottom left corner of the page, confirming the updates have taken place, you can use this link to view your new page. If you missed that you select the ‘Page‘ options from the right hand side tool bar and there is a ‘Permalink‘ section which contains your page link.
Remember what you want your users to be searching for on search engines to find your site, you should try and include this keyphase as much as you depending on your content length. A good recommendation if once every 150 – 200 words.
For example if you are targeting people searching for How to setup a website UK, then try include that keyphase multiple times.
Changing your site’s homepage
By default, your site is going to think its a blog, after all WordPress is primarily a blogging platform! However, this probably isn’t what you are wanting, you want to show users your new page you just created!
To change which page your homepage is set to we need to change some settings. Head to your WordPress Admin Area and from the left menu select Appearance -> Customise. Here you will see a side bar with some options and a preview of your website.

To change the homepage, we need select ‘Homepage Settings‘ from the left hand menu. Here, it tells you that, its currently got ‘Your latest posts‘ selected, this means its pulling through the latest posts that where added to the site, in your case it will be the WordPress example post. We want to pick which page is the home page so select ‘A Static Page‘.
You will see there are now two options. You can pick which page you want to be the home page and which page you want to the Blog homepage, if you don’t want to, you don’t need to select a Blog homepage. For this example I am going to select our freshly edited Sample Page.

You can see a live preview of what your new homepage will be, if you are happy with that press the blue ‘Publish‘ button at the top of the left menu to make those changes public. You now have a new homepage that you can control the content of!
Adding a navigation (menu) bar
Now you have a homepage, you probably want to add some more pages, right? If you are stuck for ideas, I’d recommend adding a Contact Page, an About Page & some pages about what sort of services you offer. All of these pages really to making your business look professional and trustworthy.
Using the steps above, go through and create each of these pages as we can’t add a menu bar if there are no pages! Try to get a descriptive page header, a few images & some information about what your business is, when it was founded, what services you offer and how users can reach you!
Now we have some more pages to add to menu bar, head to your WordPress Admin Area and from the left menu select Appearance -> Customise. Here you will see a side bar with some options and a preview of your website.
From here select ‘Menus‘ and it will present you with a list of all of the current menus on the website, for a new site this will probably be empty.

Hit the ‘Create New Menu‘ button and you will be asked to name your new menu, I’d recommend making it something that makes its obvious which menu they are editing as you may have menus at the top and the bottom of the page.
In my case, I’ve named mine ‘Main Menu‘ as it will be the main navigation menu for the site. Select a menu location from the list below, on the next step it will show us a preview of where the menu will go so don’t worry you can always change it again if needed. I’ve selected ‘Primary Menu‘ and pressed the ‘Next‘ button.
Now you can see in the preview your title has moved over to the left, this is because there is now a menu added to the site, but as there are no items in the menu its still empty.
Let’s add some items by pressing the ‘Add Items‘ button. Here you can pick from a list of pages, posts and just about anything else to add to your menu. If you want to link outside your website you can use the ‘Custom Link‘ button as well. Pick some of your newly created pages from here and press the + symbol.
Once done, close the ‘Add Items‘ menu by clicking it again and you will see your menus items have appeared in the top right of the page! You can use this menu to get an idea of how it will work if you want to. Once you are happy with it, hit the ‘Publish‘ button at the top left of the menu to make your changes live to your users!
Remember that it’s important what you call your menu links, you page needs to be easily findable and obvious what it is at a quick glance. For example if you web page is based around How to setup a website UK then calling it ‘Website Ideas’ isn’t a great idea.

Let’s make it less… Green?
Whilst you may love the default green colour, it probably doesn’t fit in with your business brand colours! Luckily, we can change all of these colours to something that will look a little better and will reflect your business idea.
Head to your WordPress Admin Area and go to Appearance -> Customise. By now you are pretty familiar with this area of the site. Here there are a number of items that you can use to customise your new site.
To change the background colour, head to the ‘Colours & Dark Mode‘ section, and here you can pick what colour you want your background colour to be. I would recommend having a very neutral colour such as white, light blue or slightly off-white, this makes sure your user’s eyes are drawn to your content and images rather than a bright background.

You can also add a background image, this adds an image behind your content on top of your background colour. Again, I would recommend leaving this empty to keep attention on the parts that matter.
If you need to change your site’s name and tagline that we set up when we created the site, you can do so here as well. Just head to the ‘Site Identity‘ section of the customise menu.
There is also a section here called ‘Additional CSS‘. In this section you are free to add custom CSS that you have written or found online, this can be used to tailor your site specifically to how you want it. For example in here you could add some styling that makes your buttons a certain colour and do something special on hover. If you are new to web development, I’d recommend leaving this section for now.
Make sure once you are happy with everything you have done, you press the blue ‘Publish‘ button to make your changes visible to your users!
How to setup a website UK & take customisation further
If the WordPress Gutenberg blocks and the Customisation page is not enough for your website there are some other options you can use to give you that extra bit of creativity. There are some pros and cons to weigh up first.
Pros of a page builder
Page builders offer fantastic customisability, turning your website into a drag & drop editor where you easily add and remove content.
They offer all of the customisation you would ever need, including colours, buttons, links, galleries, carousels etc.
For the most part, they are completely free of charge!
Cons of a page builder
They are usually very slow and clunky to use, there’s so much happening when you are using the page builder it’s about as fast as they get.
The effects on speed don’t just affect you! Your users will see the site being a little slow as the page builder has so much bulk.
Some of them aren’t so reliable. It’s quite common to see the page builder bug out a little if you making alot of edits to a large page. Your work can be accidentally deleted and you would have to start your changes again!
I don’t want to put you off using a page builder as they are a great starting point for you, especially if this is your first website, this is just so you can understand why so much time and effort goes into custom themes being developed. Be sure to check out our future content for more information on how you can start to create your own blocks.
If you would like to install a page builder, you can do this by simply installing a new theme as we did previously in the guide. There are a number of completely free page builders with some offering extra features for a subscription, I would recommend you look at using:
Although it could be a good idea for have a page builder for extra functionality but us at How to setup a website UK recommend doing everything by yourself where possible.
Extending your site further with plugins
WordPress is great because you take your new website so much further with the use of plugins! Plugins are miniature programs you can add to your website to add new functionality, this can be new blocks, contact forms, e-commerce functionality, speed updates, SEO guidance and so much more! Read our guide on the top 6 plugins for your new website!

At the time writing this there are over 55,000 WordPress Plugins that are available to add to your site. The great thing is, the majority of these plugins are completely free to use! If not, most of them have a free section and you can pay for the premium features.
All of the plugins all have to have a user-friendly guide on how to set them up and use them including screenshots so it makes it really easy for anyone to add them to their site and get started.

To add a plugin its really simple! Head to your WordPress Admin Area, and go to ‘Plugins‘. Here you will see a list of all of the plugins that are currently on your website whether they are active or not. WordPress comes with a couple of plugins by default, you can choose to use these or not.
Let’s add a new plugin to your website. In this example we will add Yoast SEO which is a plugin to give guidance and extra features to easily add and control your websites meta titles and descriptions that are read by Google.
To start, press the ‘Add New‘ button at top of the page and you will be taken browse the plugins. You can filter by popular, recommended or just using the search functionality. Use the search bar to search for ‘Yoast‘ and then we can select the first one, be aware that some people try to use popular plugin names to get their own near the top of the search rankings. A good way to check if it’s the right one is to view the rating, number of ratings and number of installations.

Once you have found the plugin you want you can press ‘More Details‘ to go to the plugin’s help page which you can use for installation and setup help. If you are happy with that, press the ‘Install Now‘ button.
Once your plugin has finished downloading the ‘Install Now‘ button will change to ‘Activate‘. It’s worth noting that a plugin can be installed on the site but will not be used if it is not activated. So let’s press ‘Activate‘ now.
You should be then taken to your plugins homepage with your newly added plugin now being active on the site. You can then use the plugins web page as a guide to set up and use your plugin correctly. Most big plugins have a settings page that will appear in the left hand navigation bar, or you can use the buttons near the activated plugin.

Some plugins I would recommend that you add to your website are:
Contact Form 7 – This is a great plugin for adding secure contact forms to your website. They require very little set up and its all completely free! You can get this plugin here.
Yoast SEO – Yoast is a great plugin, it adds an easy to use interface where you can add and edit your sites Meta information (what Google uses to rank your site). You can also set up breadcrumbs, social imagery etc. You can get this plugin here.
Woocommerce – This is a quick and easy way to start selling products on your website. Woocommerce quickly adds products, checkout and a basket to your site. You can get this plugin here.
Wordfence – Website security is a huge thing you need to consider with your website. Luckily there is a free plugin you can use to secure your website, Wordfence. By adding this is it will automatically block attacks and help to keep your site safe. You can get this plugin here.
Great work! How to setup a website UK? Completed!
It wasn’t even that hard was it?! You have taken the first steps to creating your own website giving you the freedom to make it whatever you want it to be! Just by getting to this point you have saved yourself possibly thousands of pounds that would have been spent on a web developer.
Don’t stop here though, there’s so much more that we can work on together and add to your website. Why not recommend this guide to your friends so you can build & learn new skills together and setup your new business!
What Next?
Why not take a look at some of our other guides? Learn how to transform your website into a shop or how to monetise your website without using ads! Add a blog so you can give your users updates on your business and where its going next? Work on adding new blocks and features that add to your website! Check out which plugins you might want to add next! If you would like a guide creating for your ideas please let How to setup a website UK know!
There’s so much we can do now that you have set up your WordPress website, this is just the beginning! Once your website is live, look at how certain things can affect your SEO and your rankings in Google.
If you feel like anything didn’t make sense or requires an update please contact How to setup a website UK using the contact form below. Last Updated: 17th April 2023.